Organizing your kitchen countertops can be a daunting task, but it’s one that can make a significant difference in the functionality and appearance of your kitchen. A cluttered and disorganized kitchen can make meal prep stressful and time-consuming, and it can also be a source of frustration when you can’t find what you need. By following these seven tips, you can transform your kitchen countertops into a functional and organized space.
Evaluate your current setup
Before you begin organizing your countertops, take a step back and evaluate your current setup. Ask yourself what’s working and what’s not, and think about how you use your kitchen on a daily basis. This will help you identify problem areas and create a plan for organizing your countertops in a way that works for you.
Clear off the countertops
The first step in organizing your kitchen countertops is to clear everything off of them. This will give you a blank slate to work with and allow you to see exactly how much space you have to work with. Once everything is off the countertops, take the time to clean them thoroughly. This will make your kitchen feel fresh and new and help you start your organizing project with a clean slate.
Group like items together
One of the keys to organizing your kitchen countertops is to group items together. For example, keep all of your cooking utensils in one container, all of your spices in another, and all of your oils and vinegars in a third. This will make it easy to find what you need when you need it and will also help you keep your countertops clutter-free.
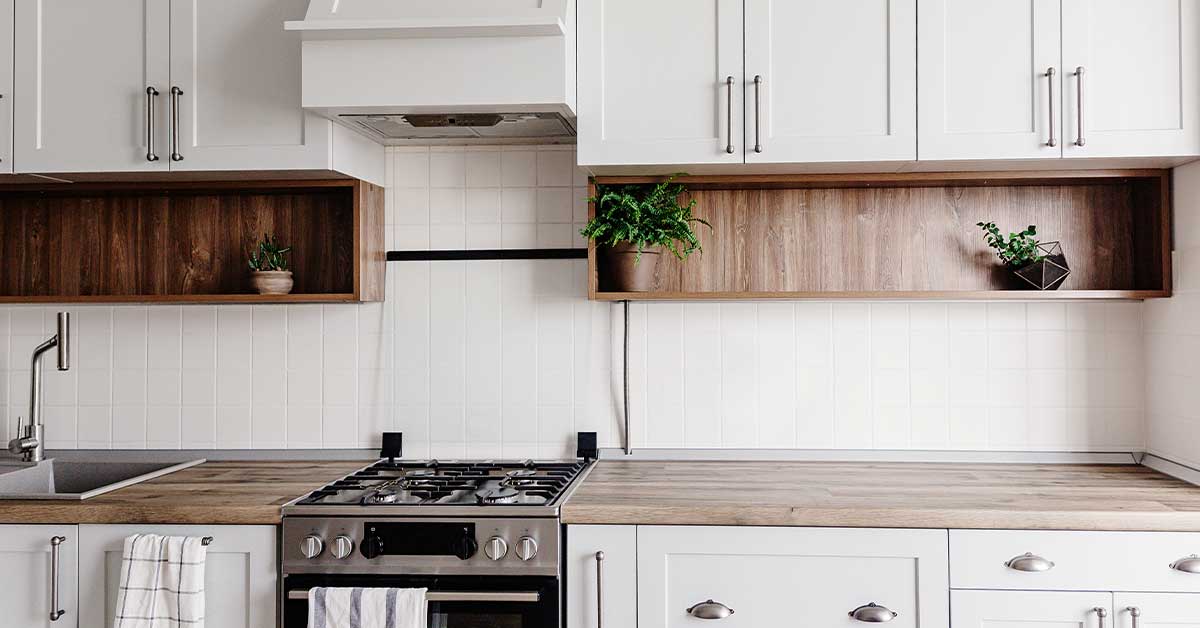
Use vertical space
When organizing your countertops, don’t forget to use vertical space. This can be as simple as installing a magnetic knife holder on the wall or using a tiered fruit basket to store produce. By using vertical space, you can free up valuable counter space and keep your kitchen organized and functional.
Invest in storage units
Investing in storage units is key to keeping your kitchen countertops organized. This could include anything from a utensil holder to a spice rack to a set of stackable canisters for storing dry goods. Whatever your needs, there are plenty of storage solutions available to help you keep your countertops clutter-free.
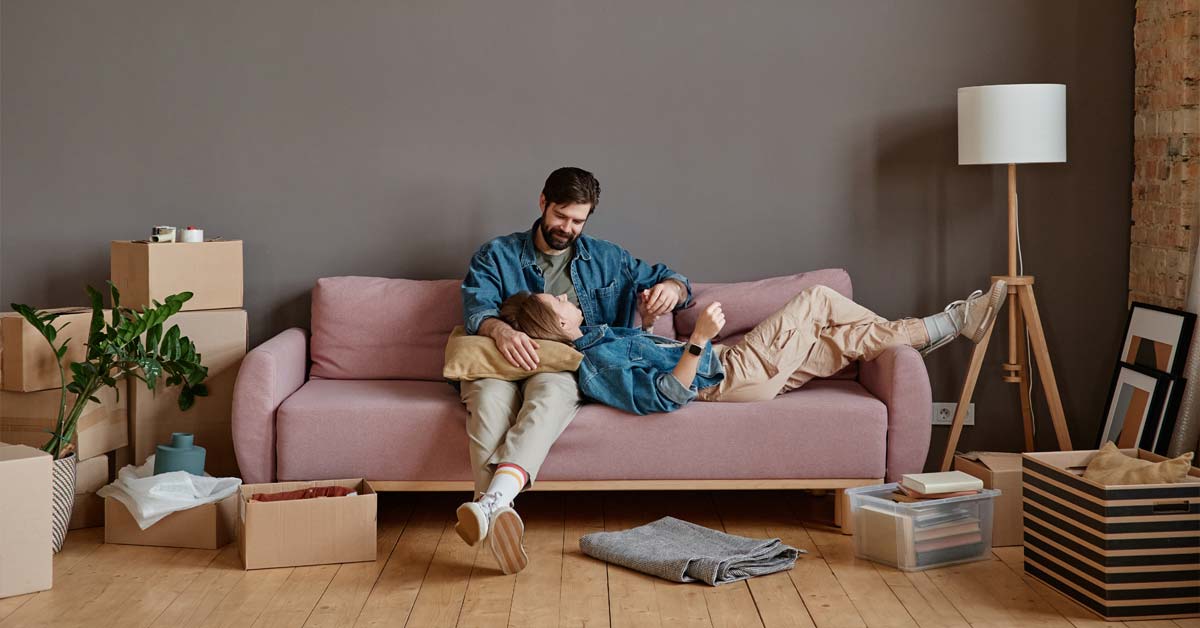
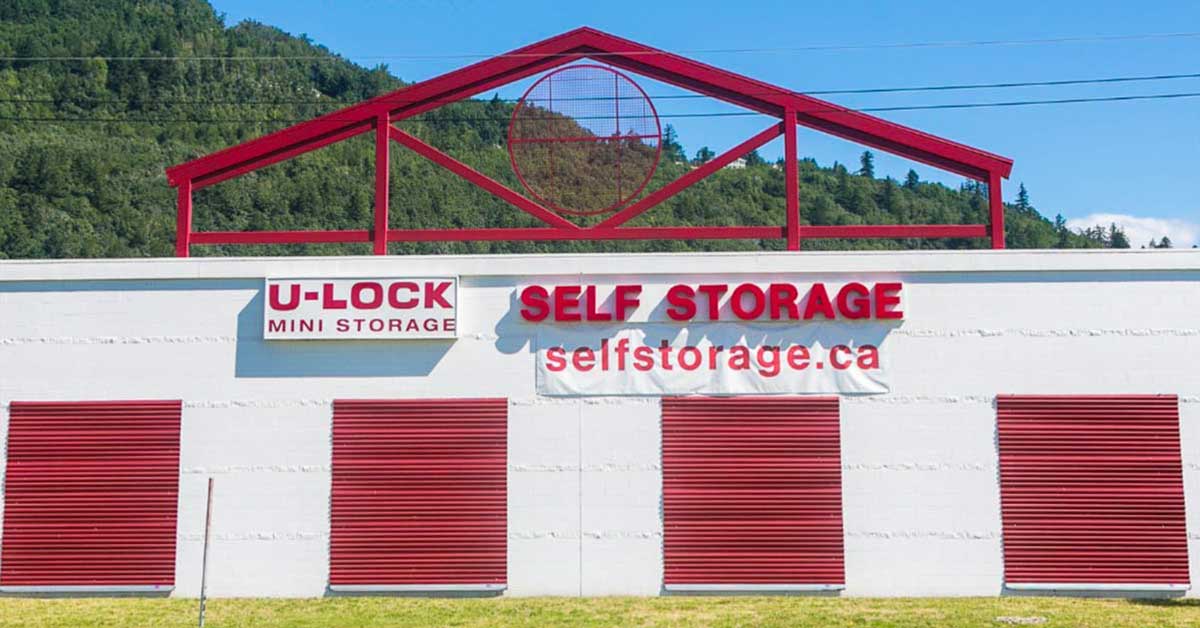
At U-Lock Mini Storage, we have storage facilities across Greater Vancouver and Vancouver Island. Our facilities include storage units Victoria, storage units Parksville, storage units Nanaimo, storage units Burnaby, storage units White Rock and Surrey and storage units Chilliwack.
Keep it simple
When it comes to organizing your kitchen countertops, it’s important to keep it simple. Don’t try to cram too many items onto your countertops, as this can make them feel cluttered and overwhelming. Instead, choose a few key items to keep out, such as your most frequently used cooking utensils or a decorative piece that adds personality to your kitchen.
Maintain your organization
Finally, it’s important to maintain your organization once you’ve achieved it. This means taking the time to put things away in their designated spots, wiping down your countertops daily, and decluttering on a regular basis. By doing so, you can ensure that your kitchen stays organized and functional for years to come.
In conclusion, organizing your kitchen countertops can be a challenging task, but it’s one that’s well worth the effort. By following these seven tips, you can create a functional and clutter-free kitchen that’s a joy to cook and entertain in.