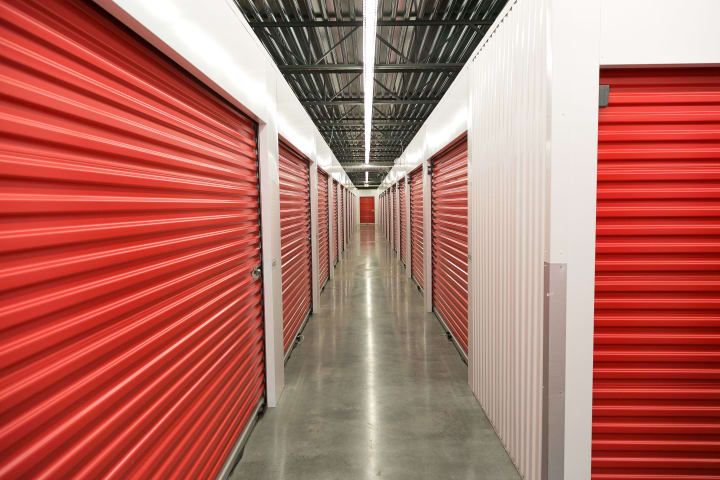
When moving out of one home to another, a self storage unit is a perfect storage solution for many things, but there are a few items that for safety and legal reasons, cannot be stored. Like any other rental space, there are limitations in your lease on what you can store, and if you fail to comply with these policies and regulations, you could be responsible for any potential damage that may occur. To save you time and stress when you are in the middle of your next move, here’s a list of things you should never put inside your storage unit.
1. Food & Perishables

Storage units cannot be used as a pantry. Food and perishable items left for a prolonged period of time can attract unwelcome critters like rodents and insects that can not only destroy the items in your unit, but in neighboring units as well. Secondly, expired foods will rot and start emitting unwanted odors, creating favorable conditions for bacteria and mold to grow and spread inside your unit. To avoid these issues, simply keep perishable food items out of your storage unit.
2. Animals

Goes without saying, right? Never leave a pet or any animal inside a storage unit! Storage units cannot serve as kennels for your pets, or a holding space for exotic animals. If for whatever reason you can no longer care for a pet after a move, leave your pet with a family member, trusted friend, or adopt them to another person that will provide the loving home the animal deserves.
3. Plants

Storage units cannot provide the three essentials plants need to survive: sunshine, water and fresh air. Furthermore, plants can attract pests and insects, potentially creating more problems. If you cannot find the space for your plants in your current residence, consider storing your leafy friends with family, friends, or giving them away to interested people who want to take care of them.
4. Wet Items

Before you put your items in a storage unit, whether it be heated storage or non-heated storage, make sure they are 100% dry. Moisture will create the right conditions for mold, mildew and bacteria to spread in your self storage unit, causing serious damage to your possessions.
5. Dangerous Materials

Any items that burn, explode or corrode can pose serious risk to human health, lead to costly property damage, and are forbidden by law. Strongly prohibited hazardous and combustible materials that cannot be stored inside a storage unit include: fuels, chemicals, acids, gases, pesticides, liquor, fireworks, and medical waste. If you are unsure about the items you are storing, always inquire with your storage company first.
6. Cannabis

With the legalization of cannabis, you may be wondering if you can store it inside a storage unit. The simple answer, no. You cannot store or grow cannabis inside a storage unit.
7. Unregistered Vehicles

Only vehicles that are registered, fully operational, and have storage insurance may be stored at a storage facility. This includes cars, trucks, boats, trailers, RVs and motorcycles.
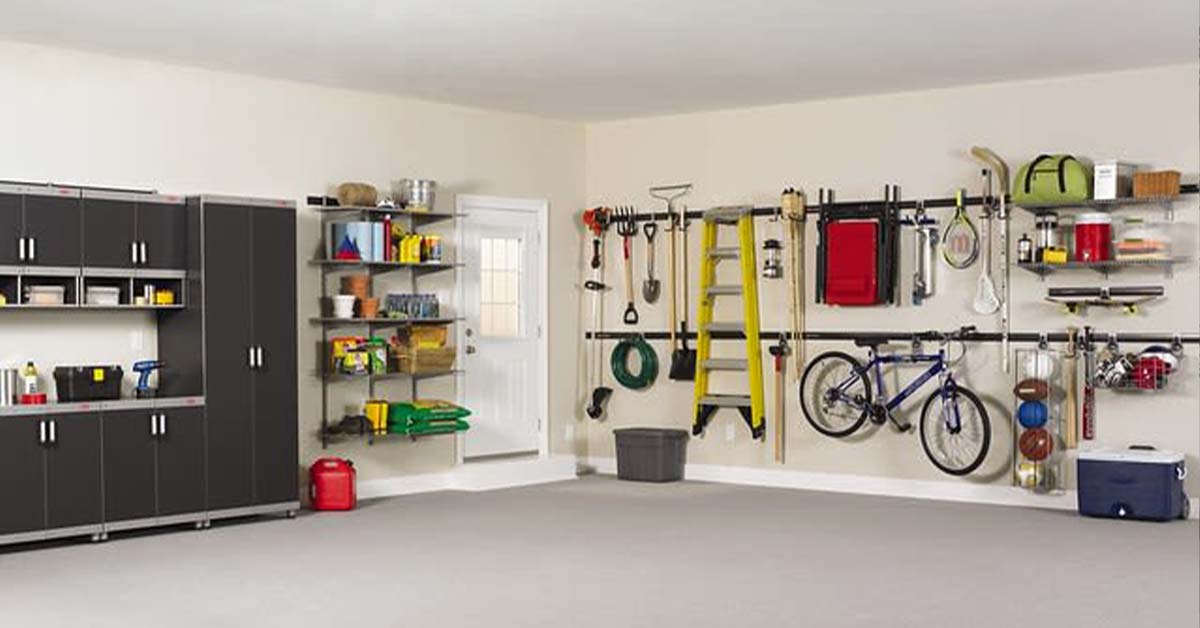
8. Irreplaceable Items

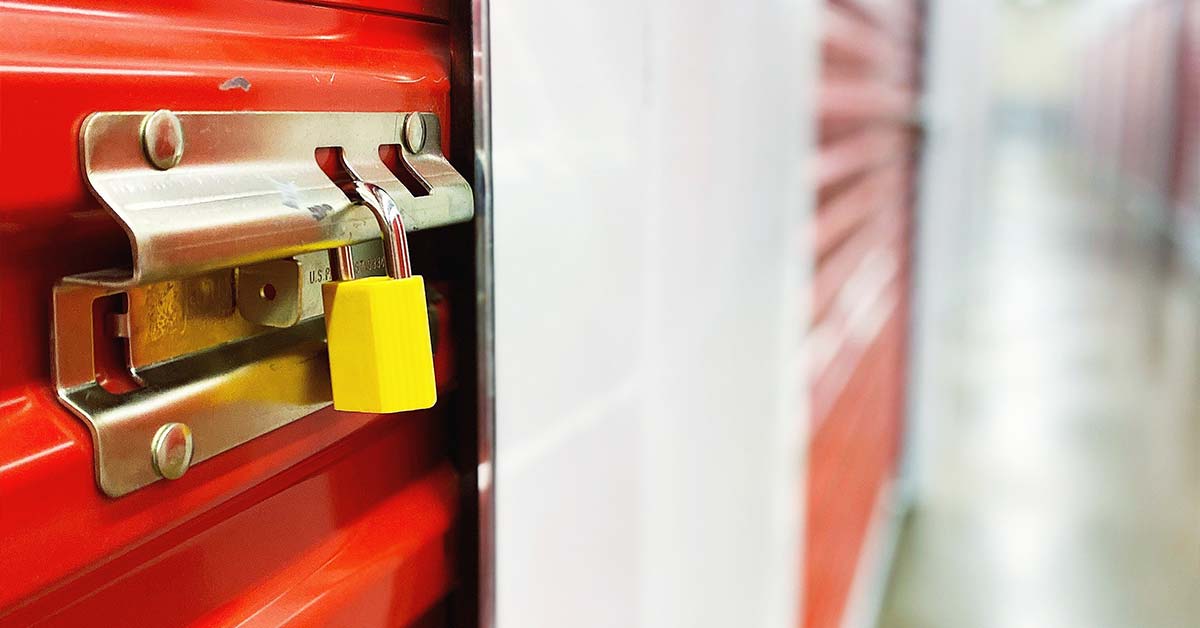
While storage companies take many precautions to keep their sites safe and secure, a storage unit is not an ideal place to store valuable, one-of-a-kind items such as money, jewelry or important documents like passports, birth certificates, or family photos. It is recommended you keep such items in a safety deposit box in your bank or invest in a high-quality safe for your residence.
Insure your belongings
Now that you know what can and cannot be stored in your storage unit, it’s time to look into the proper insurance you need for your belongings. Storage companies are responsible for maintaining the safety of the site, but are not responsible for your personal belongings. Getting proper coverage for your items will ensure your belongings are protected in storage and give you peace of mind.