Do you have bins and drawers full of photos from years gone by? Does it take you longer than it should to find that one special picture for your child’s family history project? If the answer is yes to either question, it’s time for you to re-organize your photos.
Organizing and preserving precious photographs is important, but often these tasks are set aside until “later.” However, “later” rarely seems to turn into “now.” To help you organize photos, we have come up with five tips you can use.
Decide Your Objective
The very first step to organize your pictures is to figure out what your end goal is. Is it to preserve them for future generations? Is it to create a celebratory slideshow for your daughter’s graduation? Do you just want to be able to find those cute pictures of the kids to share on Throwback Thursday?
Whatever your final goal may be, give some thought to it now. It will help you prioritize your actions as you work through the organizing process.
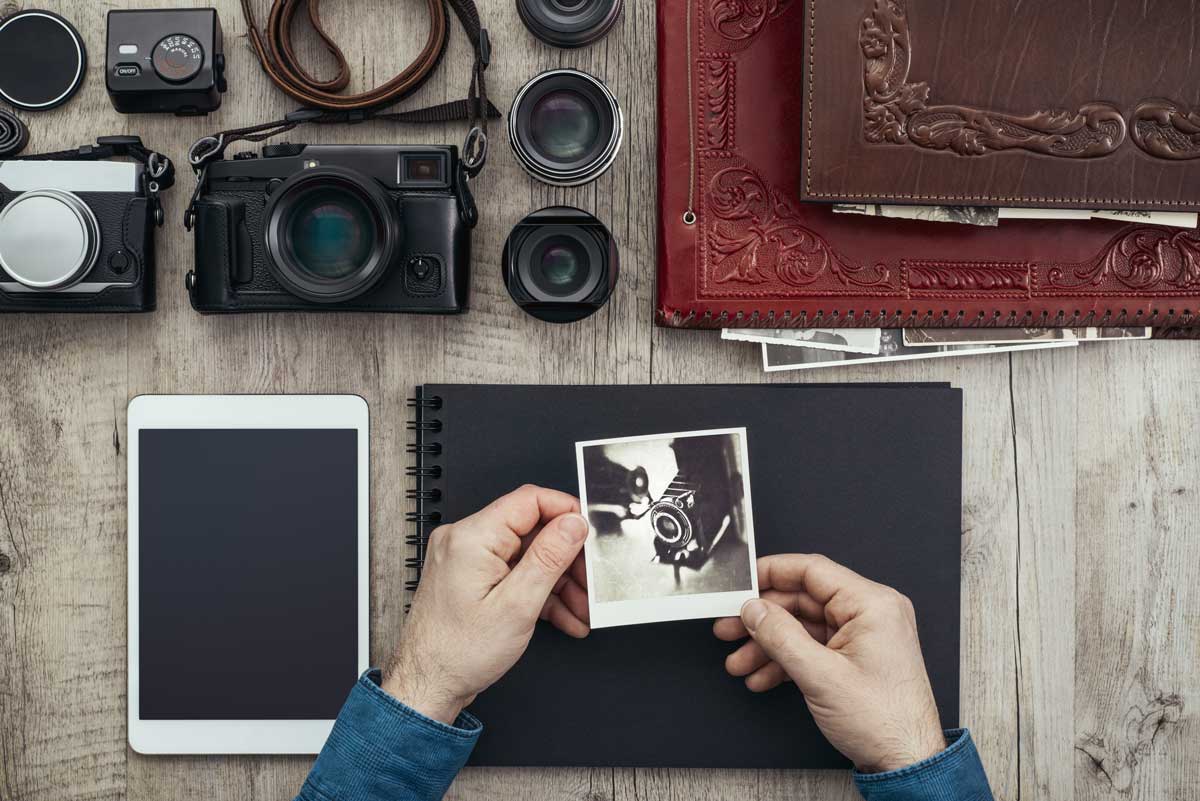
Collect Photos You Want To Keep
You can’t decide what your photo organizing process is going to be until you know exactly what you’re working with. Scour your house and find all your printed photos, including both loose and framed pictures, photo albums and even slides and negatives. By getting everything together and putting all the pictures in one area, whether it be in your guest room or on your current laptop, you will be able to better evaluate what you have and what you need to do to reach your end goal.
Sort Your Photographs
Start putting some order to the chaos by sorting your photographs.
One of the most common ways to do this is to sort them chronologically. If you don’t know the exact dates of pictures, you can often find clues such as printer’s codes on the backs of the pictures, a receipt attached to the developing envelope or even the hairstyles of the people in the photo.
Don’t worry if your chronological sorting is not perfect. You can always tweak it later. You can also sort by themes such as vacations and birthdays, or by person.
Sort directly into your photo boxes if possible. Remove pictures from developing envelopes and plastic bags. Keep the negatives with the photographs: they will be helpful in the next step. Take the time now to toss any duplicate prints and blurry shots.
This is a good time to decide what you are going to do with your intact photo albums. If your albums include those pesky magnetic albums so popular from the 1960s until the 1990s, I highly recommend you remove the pictures. These albums are slowly destroying your precious pictures.
Some albums may need to stay intact, like the black paper ones from your grandmother in which she documented your family history. If you do remove the pictures from your albums, sort these photos into the boxes as well. You can always put them back into an album later.
Scan Your Photos
Your pictures are part of the beloved record of your family’s life. By scanning and digitizing the photos, you are creating a backup copy of the prints and creating a method to more easily share and enjoy your pictures in this digital age.
If you have negatives and slides, it is helpful to find a scanner that will scan them as well. If you have printed photos and the negatives that go with them, it’s better to scan the negatives; they will give you a truer color and clearer picture.
If you have decided to keep your albums intact, you can use a small, portable scanner such as the Flip-Pal to scan the pages without damaging the albums.
Rent a Storage Unit
Once you’ve scanned all your photos, you can keep the original copy of the photos in a safe place. A fantastic place to keep the photos safe and sound is in a storage unit. You can rent a smaller storage unit such as a 5×5 feet storage unit. This storage unit size should suffice for your photo storage needs. If you have a few more items you want to store alongside your photos, you can go with a bigger storage unit size such as 5×7 feet or 5×8 feet. At U-Lock Mini Storage, we have storage facilities across Greater Vancouver and Vancouver Island. Our facilities include storage units Victoria, storage units Parksville, storage units Nanaimo, storage units Burnaby, storage units White Rock and Surrey and storage units Chilliwack.
Contact us if you have any questions!