Staging your home properly is integral to increasing your chance of successfully selling your home. While it may seem easy to stage your home, this task can be tedious and time-consuming – especially if you are occupied with other priorities.
To help you efficiently stage and beautify your home for sale, we have come up with five tips you can use:
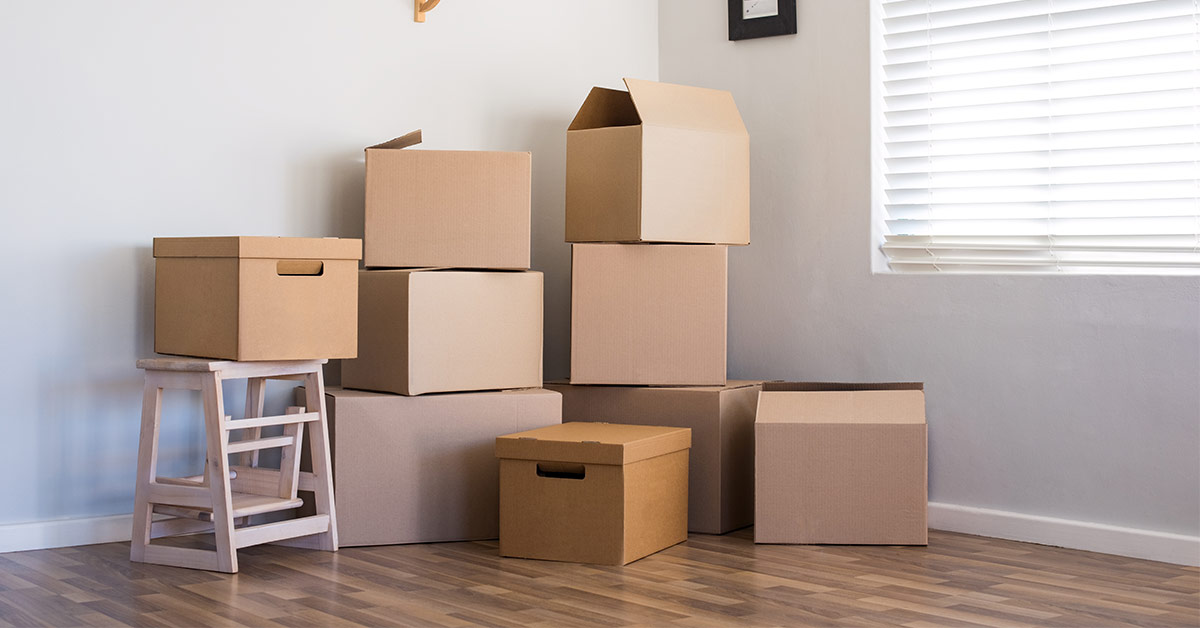
Rent a Storage Unit
Renting a storage unit is perfect for decluttering and staging your home. You can store belongings such as bicycles or furniture in a storage unit during the staging or home sale process, and retrieve these items when you move to a new home. You can also store these items for a long term if you do not plan on using them in the next little while.
If you have quite a few larger items to store, you can go with the 10 by 10 feet storage unit. This storage unit will hold the contents of a one-bedroom apartment with major appliances, other furniture and supplies. If this storage unit size does not suffice for your needs, you can upgrade to a 10 by 15 feet unit. This larger storage unit holds the contents of a two-bedroom apartment or house, including appliances, boxes, miscellaneous items and commercial storage inventory.
Organize the Front of the House
You always want to make sure that the outside of your home is appealing. Pay close attention to any extra items that may be outside your home. If you have gardening supplies such as rakes, sprinklers and hoses lying around, pick them up and put them in the back of the house, making sure that they are stored neatly.
If you have trash cans that are visible from the street, you may want to take them around back. If someone comes over to look at your home and sees these things, the added clutter can easily spoil that important first impression for them.
Host a Garage Sale
If you have lots of items that you do not want to bring to your new home after you have sold your current home, you can host a garage sale to get rid of some of your belongings. Old bikes or clothes are excellent items you can put on sale during a garage sale.
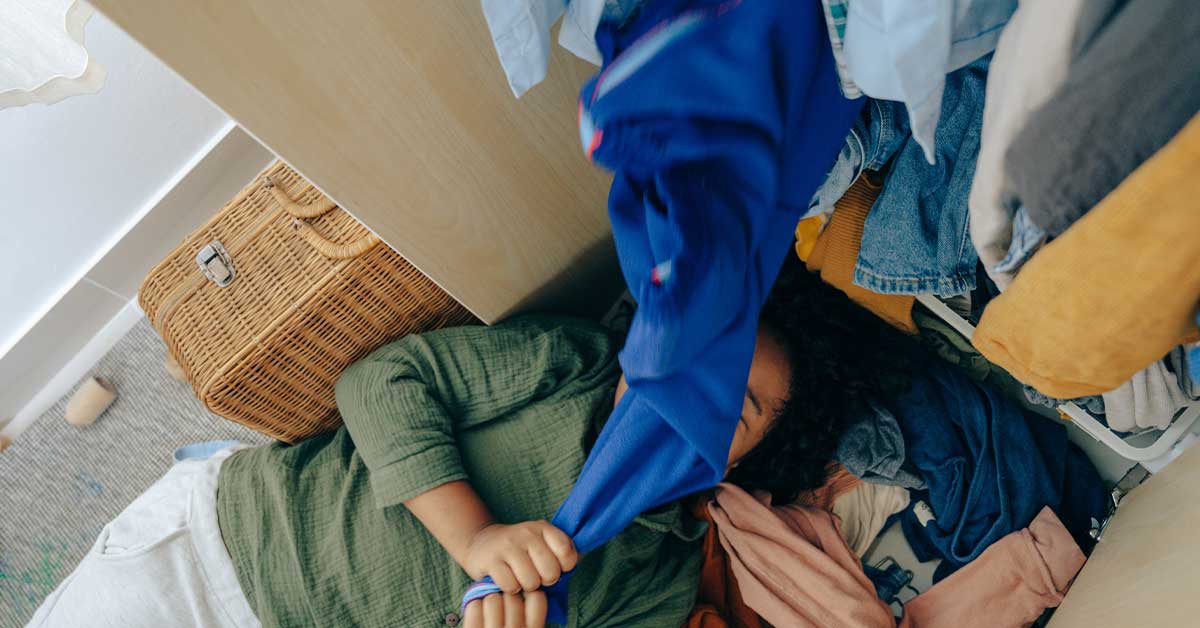
Donate Items
In addition to hosting a garage sale, you can also donate items to declutter your home. Look on your shelves, under bathroom sinks, in cabinets and go through the decorations in the rooms of your home. Get rid of what you are not going to be using in the next few months and things that do not add visual appeal to the space. There is a good chance that you have many things that you have not used for years. If this is the case, you can donate them to those in need!
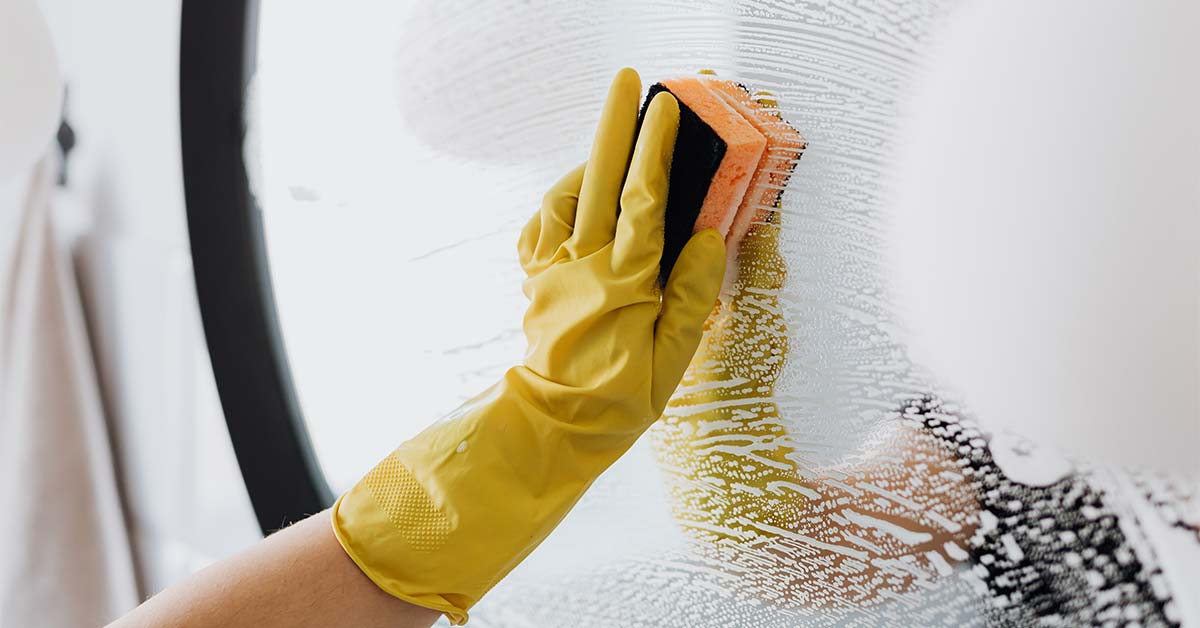
Hire a Professional Cleaner
If you have found that you do not have time to keep up on your housework and still live a normal lifestyle, you might consider hiring someone to come into your home once a week to do some cleaning for you. You might be surprised at how affordable it is! You can find a list of home cleaners nearby you by performing a quick Google search.
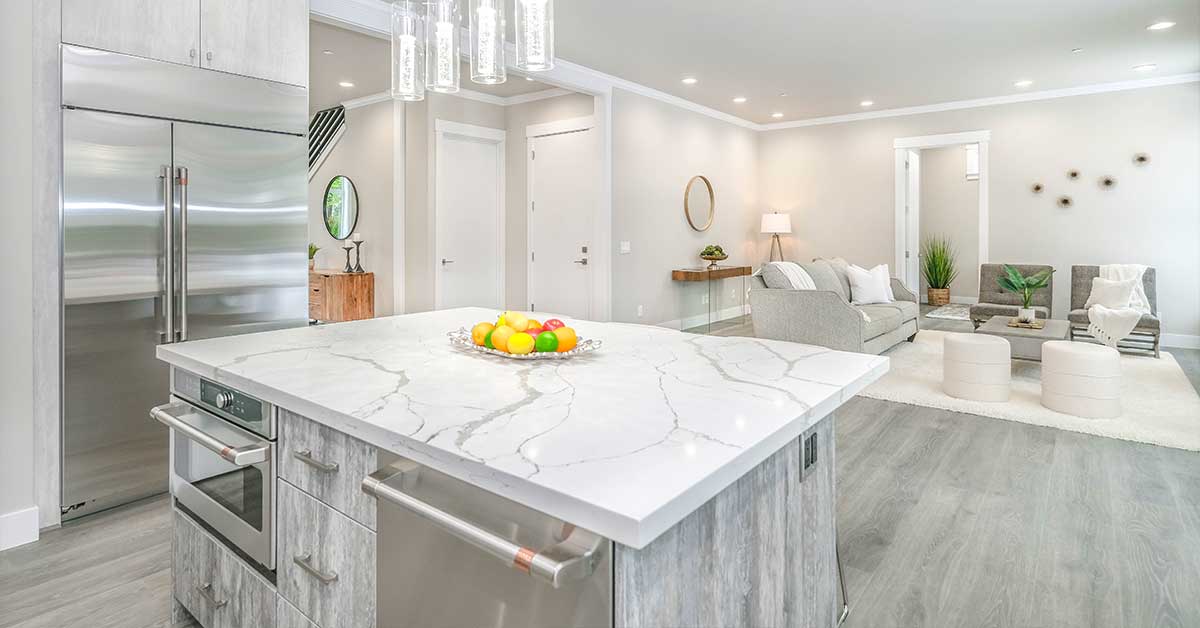
Hire a Home Staging Professional
Aside from hiring a professional cleaner, you can hire a home staging professional to help you declutter and stage your home. The home staging professional can take care of all the tasks related to removing unwanted items and creating extra space in your home!