As the school year wraps up, college students often face the challenge of moving out of dorms or rentals and finding a place for their belongings during summer break. Self storage facilities offer a practical solution to this problem. In this blog, we’ll explore how self storage can make summer break easier and more enjoyable for college students.
Why Self Storage is Important During Summer Break
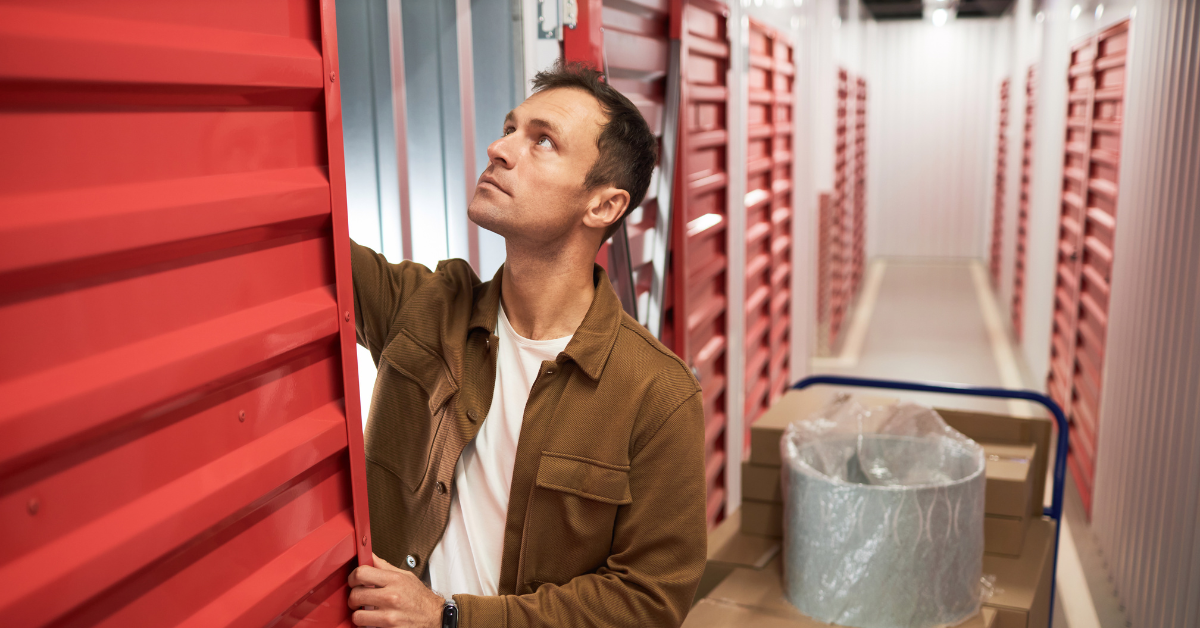
When dorms close and leases end, students need a safe place to store their stuff. Self storage facilities provide a reliable option for keeping belongings secure while students travel, do internships, or go home for the summer. This means students can enjoy their break without worrying about their possessions.
Going into Summer Break with Ease
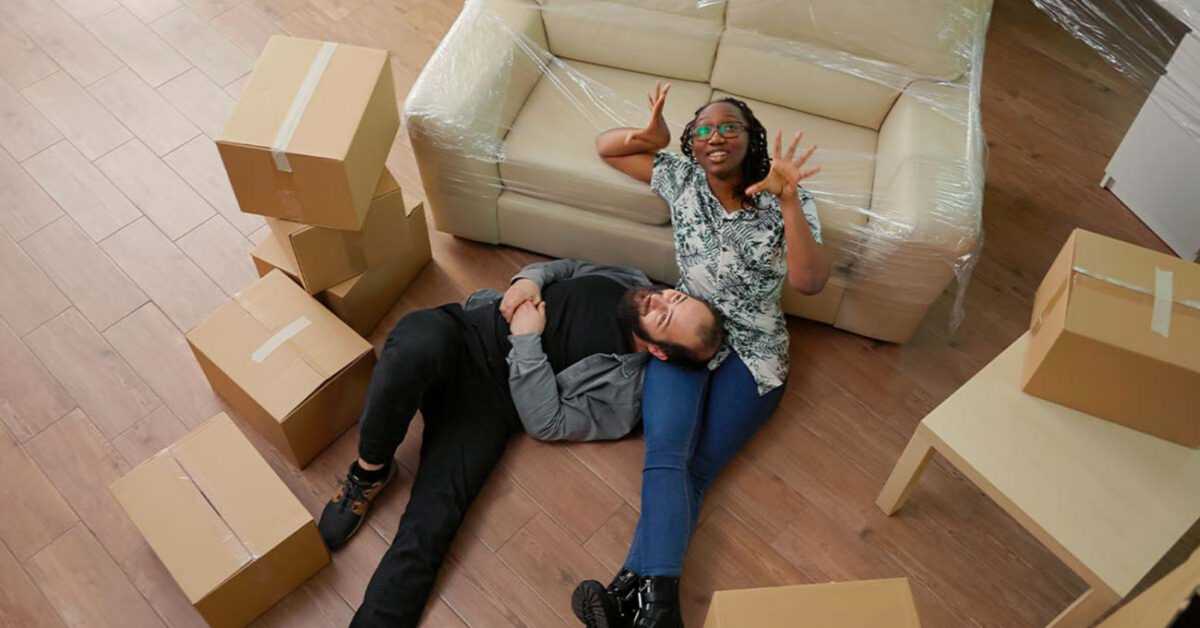
Moving out at the end of the school year can be stressful, especially with lots of items to pack and move. Self storage helps students manage this process by allowing them to store nonessential items temporarily. This reduces clutter and makes packing easier, ensuring that valuable items are safe and accessible throughout the summer.
Keep Your Belongings Safe
Self storage facilities are equipped with advanced security features like surveillance systems, access control systems, and on-site staff. This means students can enjoy their summer knowing their belongings are well-protected.
Save Money with Self Storage
Renting larger apartments or storage spaces can be expensive. Self storage offers an economical alternative. Monthly rental plans mean students pay only for the space they need, without long-term commitments or high fees. This also avoids the cost and hassle of transporting belongings back and forth between home and school.
Flexible Rental Plans to Suit Your Needs
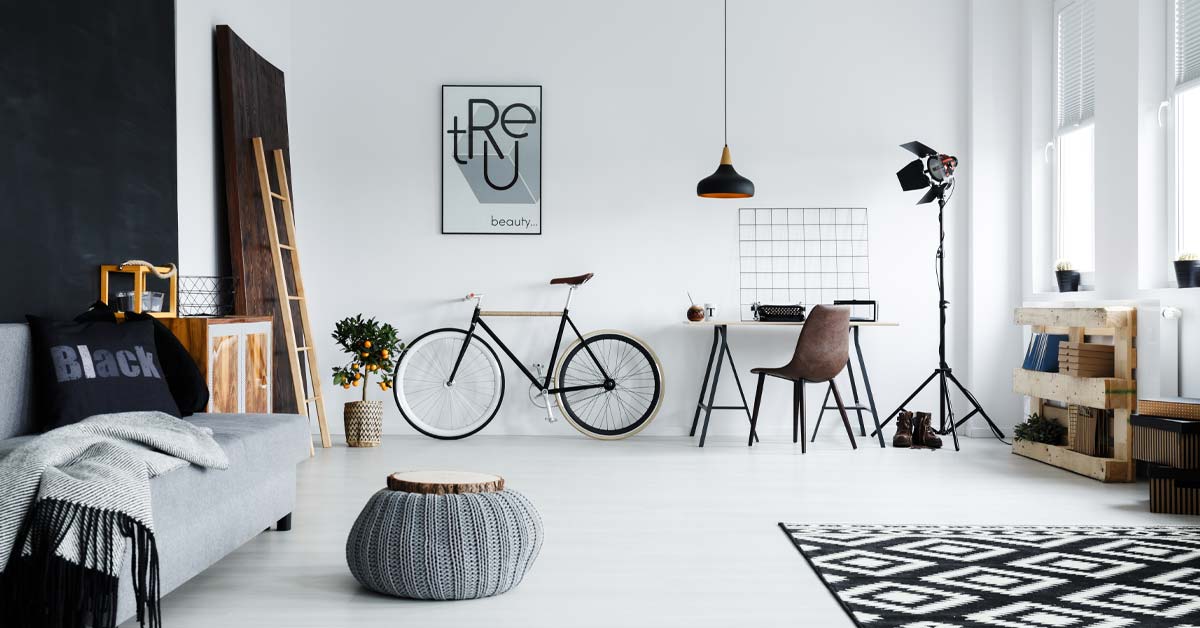
Self storage facilities understand that students have different needs. Whether you need storage for a few weeks or the entire summer, there are rental plans to fit your schedule and budget. You can also choose the size of the storage unit that best fits your belongings, avoiding the cost of unused space.
Enjoy the Convenience of Self Storage
Moving out of dorms or rentals can be chaotic. Self storage makes this easier by providing a nearby place to store your items. This reduces the stress of transporting large or bulky items and eliminates the need for rushed moves. With convenient storage, students can focus on enjoying their break without logistical headaches. If you have any questions about self storage, please contact U-Lock Mini Storage and our team will be more than happy to help!