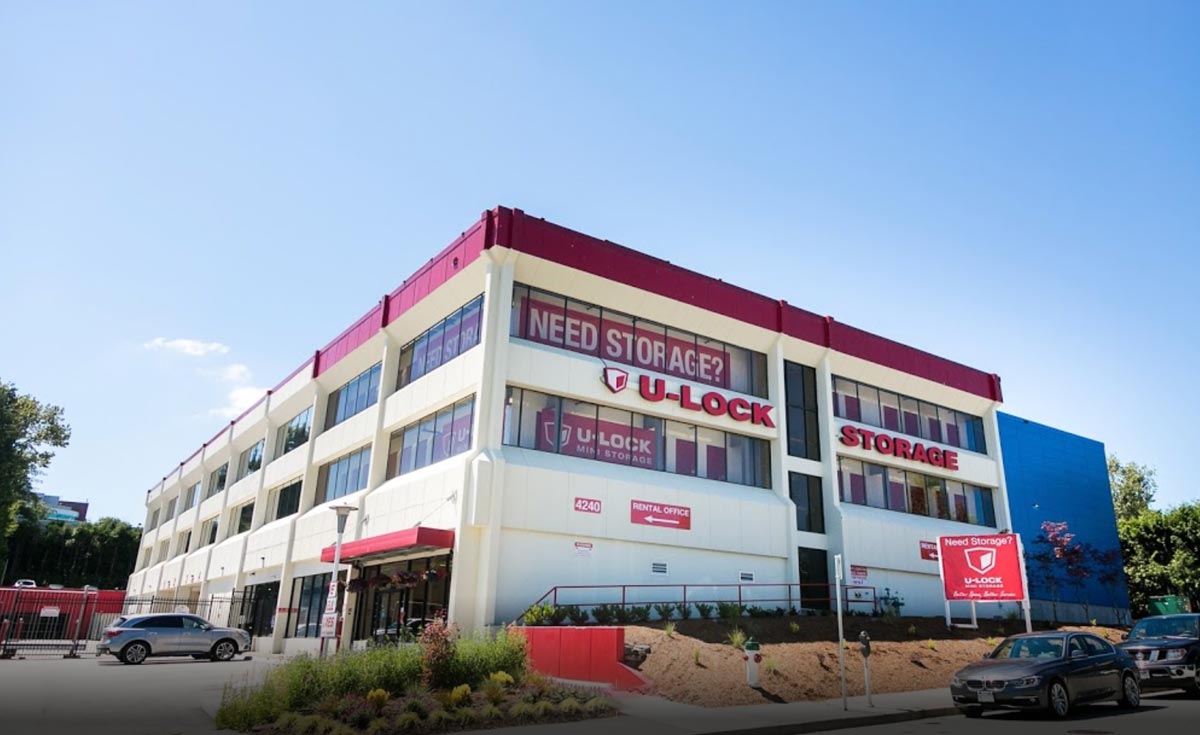
Heated storage units, often referred to as temperature controlled storage, are a type of storage unit that is specially designed to maintain steady temperatures and humidity levels. Generally, the temperature will remain consistently between 11 and 13 degrees Celsius. Heated storage is most often found at storage facilities with indoor storage units, such as U-Lock Mini Storage.
Temperature and humidity are important components when it comes to optimizing the climate in a space because temperature and humidity affect moisture levels: more heat and more humidity equal more moisture. Keeping both temperature and humidity controlled and steady prevents the formation of moisture, keeps your items protected and prevents damage from mold or warping due to moisture.
Items that Require a Heated Storage Unit
All items in storage will benefit from a heated storage unit, but some items will benefit more significantly than others. Items that benefit or require a climate-controlled storage unit include:
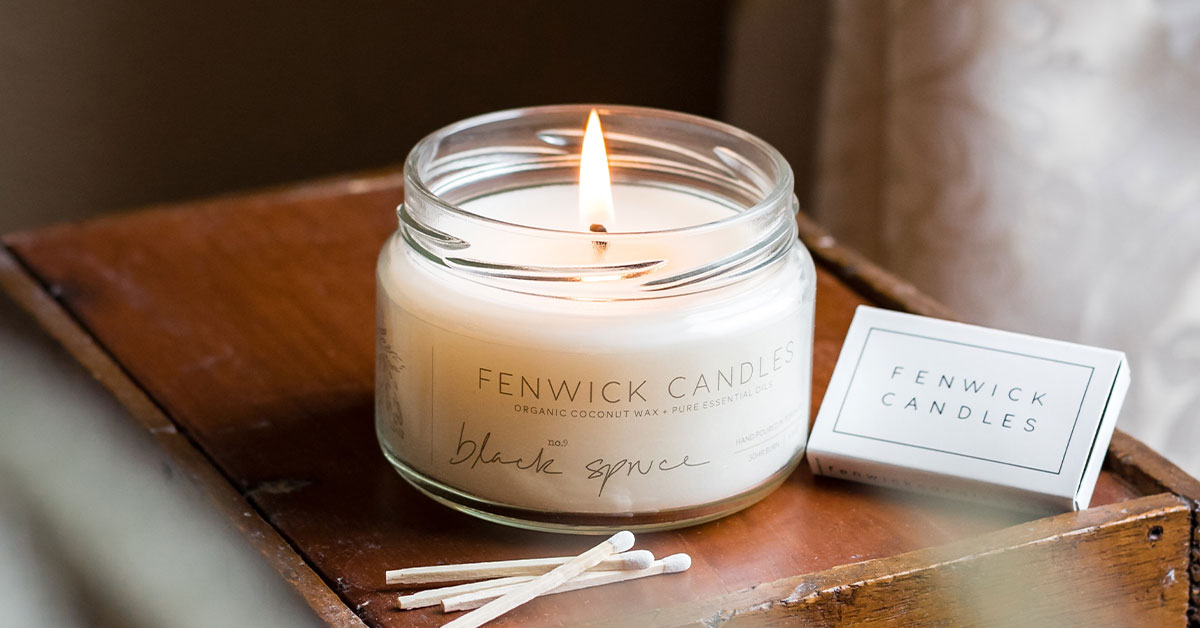
- Media (DVDs, videos, vinyl records, etc.)
- Artwork
- Clothing, particularly with lace or leather
- Important documents
- Photographs
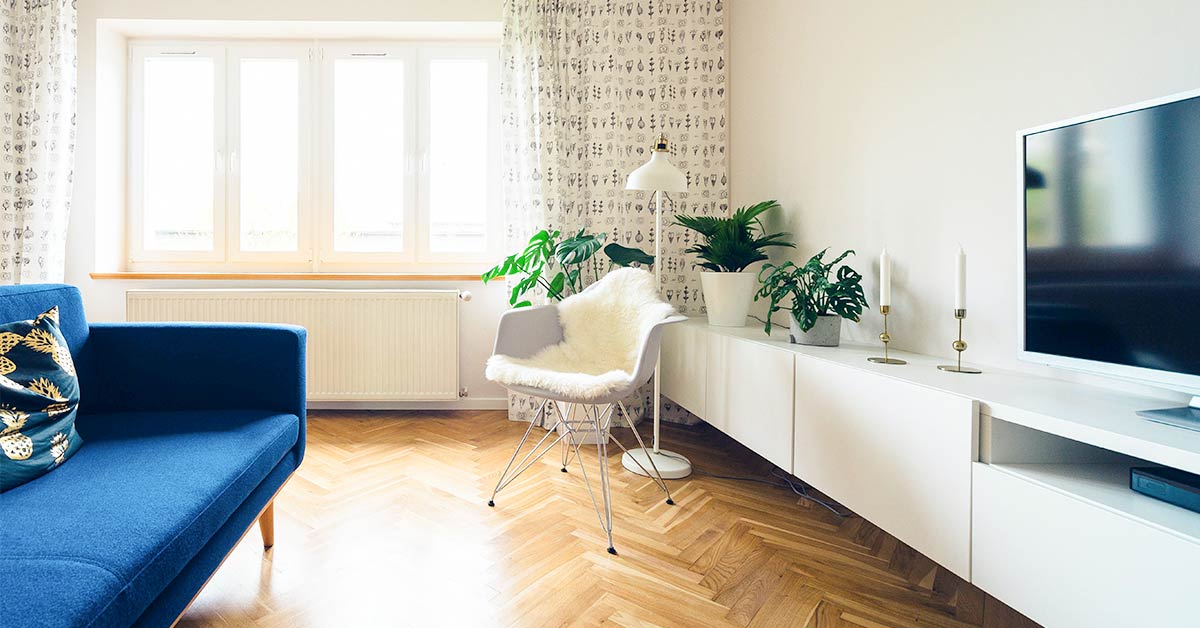
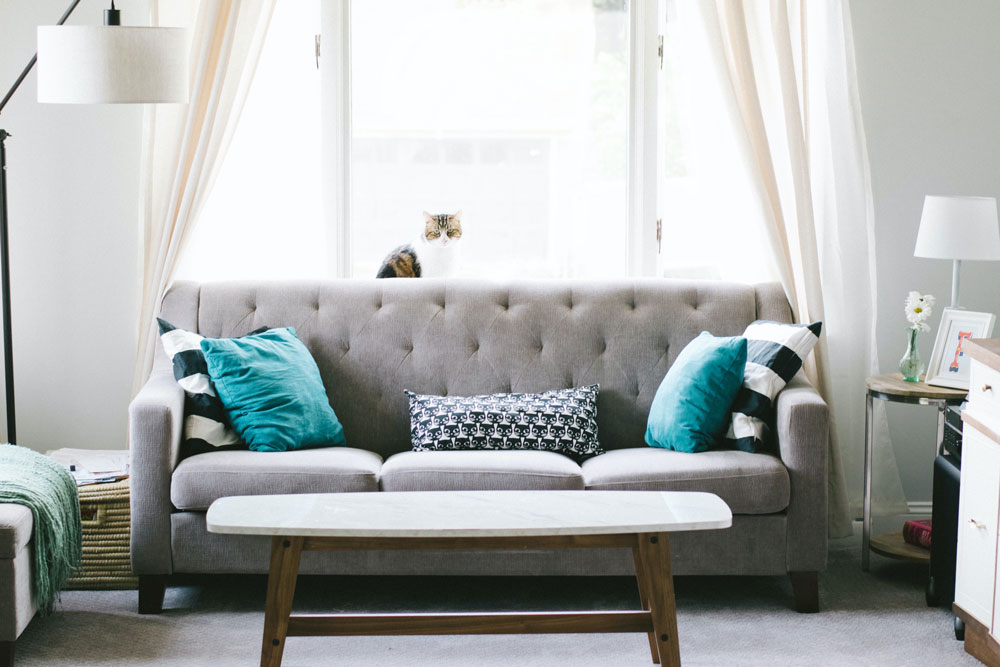
- Furniture (anything made of or containing wood, metal, wicker, leather, or upholstery)
- Electronics
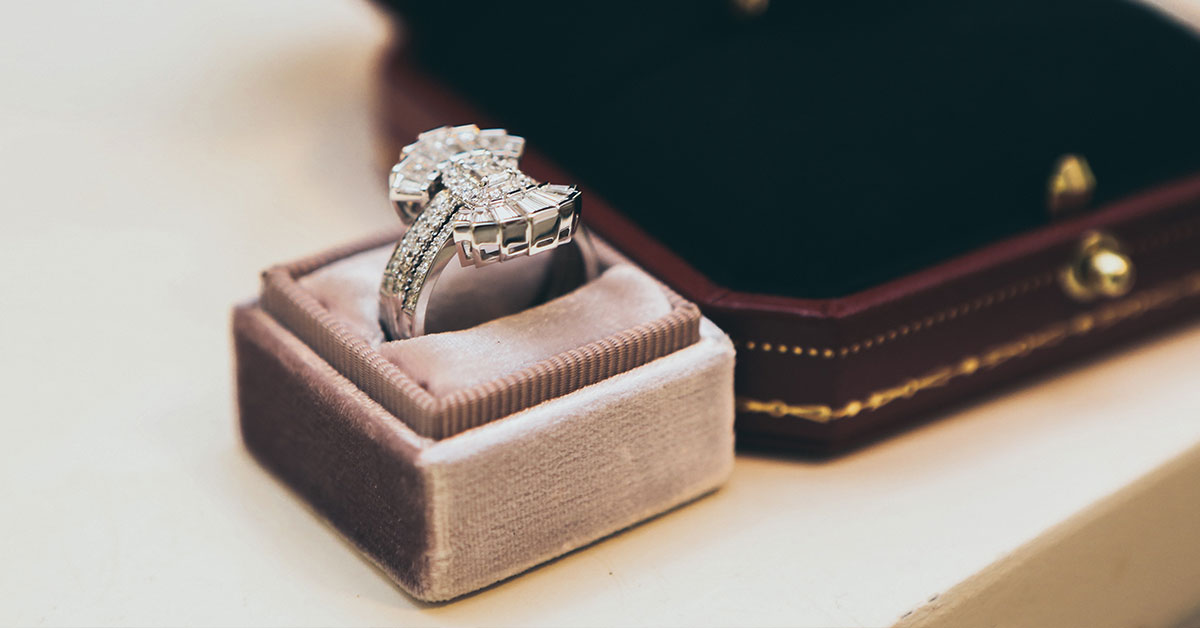
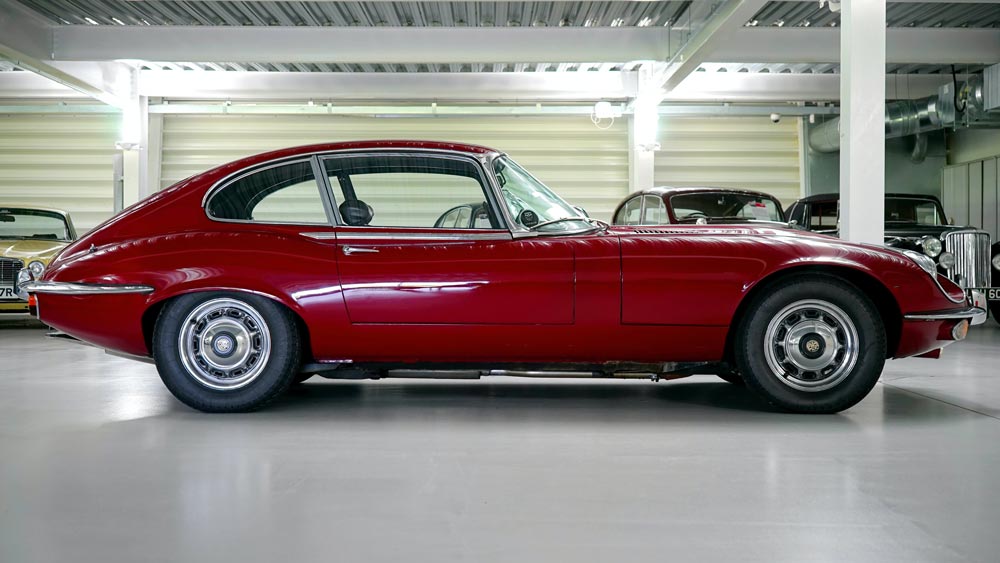
- Antiques
- Collectibles (stamps, coins, comic books, etc.)
- Medical supplies and medications
- Makeup and toiletries
- Household appliances
- Musical instruments
- Sports equipment
- Bicycles with leather seats
The reason why these items require heated storage is their damaging reaction to moisture. For example:
- Wood can become warped, cracked or rotten from moisture exposure.
- Leather can become warped or discoloured, and is susceptible to mold and mildew.
- Electronics can become cracked or rusted, rendering them unusable or dangerous to use later on.
- Paper items such as photographs can actually disintegrate or become otherwise indistinct.
If you are not sure if an item needs to be stored in a heated storage unit, ask yourself the following questions:
- Can it get mold or mildew?
- Can it warp, crack, deteriorate or become discolored from interactions with moisture?
- Would high heat cause it to expand or contract?
- Is it designed to be stored at a certain temperature (for example, wine or artwork)?
- Is it sensitive to extreme heat or cold?
- Is it rare, sentimentally-important, and/or valuable?
If your answer to any of the above questions is yes, you should rent a heated storage unit.
Other Reasons to Rent a Heated Storage Unit
Sometimes the need for a heated storage unit is less about the items that will be stored and more about other factors. Here are some other reasons why you should consider renting a heated storage unit.
- If you are going to be storing your things in the unit for a long time. If you plan to store your belongings for several months, a year, or longer, then chances are that the temperature outside is going to vary quite widely in that time. Just because it is 50 degrees and dry outside right now, it does not mean it will be like that later on. Take into consideration what temperature and humidity shifts might occur and, if they might be extreme, go for the heated storage unit.
- If you are storing collectibles, valuables, antiques or irreplaceable items. It is always better to be safe than sorry when it comes to your most precious belongings. Things of monetary or sentimental value, as well as items that are antique, irreplaceable, or part of a collection, are all best stored in heated storage units.
How Much Does A Heated Storage Unit Cost?
You can contact one of our mini storage facilities and our staff will be delighted to provide a quote for a climate-controlled storage unit!
Find a Heated Storage Unit Near You
Use our storage unit locations listing to find a storage unit near you. We have three self-storage facilities in Greater Vancouver and three mini storage locations on Vancouver Island. The facilities are: