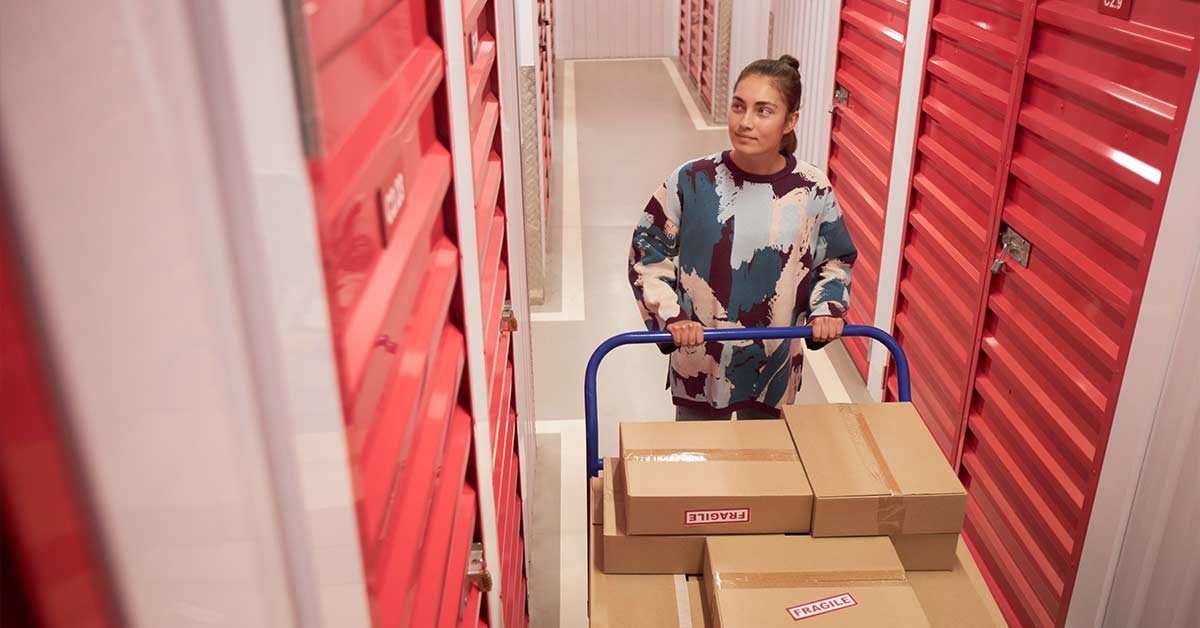
With more people living in smaller spaces, self storage facilities are becoming a more common sight. It’s easy to wonder why there’s such a demand for storage units. What are people storing away from their homes or businesses? To shed some light on this, we’ve provided some of the main reasons why individuals and businesses alike turn to self storage solutions.
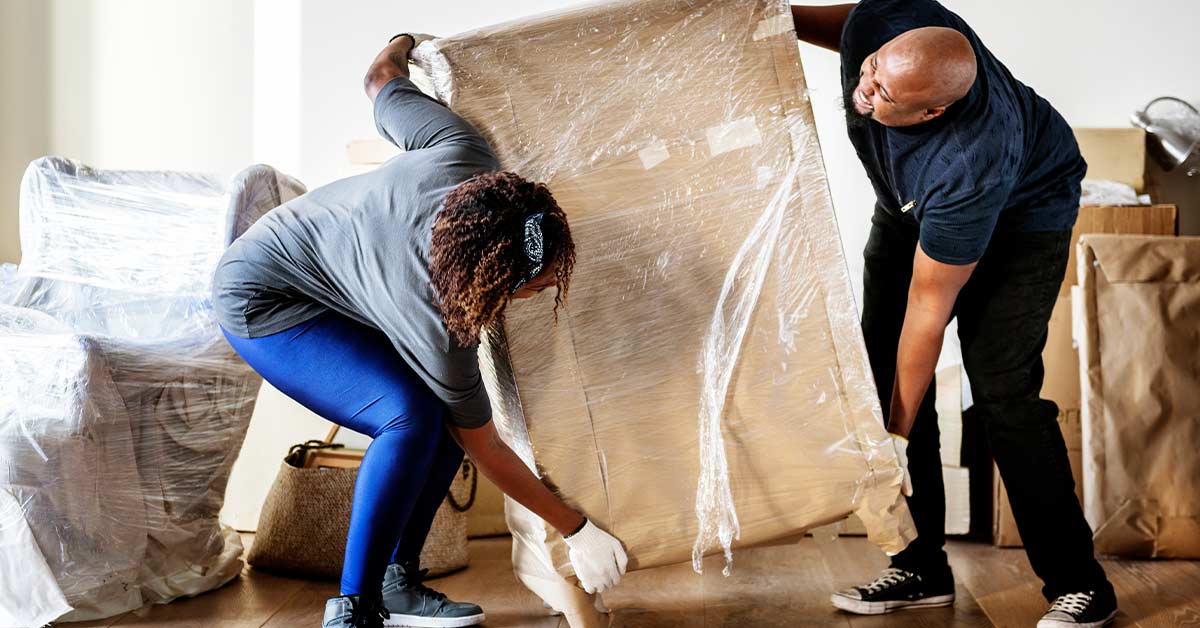
Moving: The Top Reason for Self Storage
Many people use storage units as part of the moving process. Whether it’s downsizing, waiting for a new home to be ready, or simply needing a temporary space to keep belongings during the transition, storage units offer a flexible solution to the myriad challenges moving can present.
Downsizing and Transitional Storage Needs
Downsizing often means making tough decisions about what to keep and what to part with. A storage unit provides a temporary haven for belongings until those decisions become clearer. Similarly, for those in transient jobs or with no permanent residence, such as military personnel, storage units offer a way to keep personal items safe until a more permanent home can be established.
Decluttering: Creating More Space at Home
In addition to moving, another common reason people use storage units is for decluttering. The drive to create a tidy, joyful living space has many of us looking at our belongings with a more critical eye. However, when immediate disposal isn’t an option, storage units serve as a temporary solution, allowing homeowners to take their time sorting through items without cluttering their living spaces.
Seasonal and Offseason Vehicle Storage
From classic cars to RVs, motorcycles, and boats, car storage protects these investments during the offseason. Not everyone has the luxury of extra garage space, making self storage a practical choice for keeping vehicles safe and in good condition when not in use.
Home Renovations Made Easier
Renovating a home can be a massive undertaking, and keeping the work area clear is crucial. Storage units provide homeowners the space to store furniture and other household items, facilitating a smoother renovation process.
Estate Planning and Bereavement
Following the loss of a loved one, the task of sorting through their belongings can be daunting and emotionally charged. Many find solace in using storage units to house these items until they’re ready to make decisions about their disposition, offering a grace period during a time of grief.
College Students’ Summer Dilemma
The academic year end leaves college students in a bind regarding where to keep their belongings over the summer break. Self storage emerges as a convenient solution, sparing students the hassle of moving everything back home.
Small Business Inventory Management
Entrepreneurs often start their ventures from home, but as a business grows, so does its inventory. Storage units offer an economical way to manage this expansion, providing a dedicated space for stock and equipment without overwhelming personal living areas.
These insights reveal the practical and often unexpected reasons behind the growing demand for self storage facilities. From personal transitions like moving and decluttering to business needs and bereavement, storage units offer a flexible, secure solution to a range of challenges. Whether it’s providing a temporary space during life’s transitions or supporting the growth of a small business, the value of self storage continues to resonate with a diverse clientele.