6 Effective RV Storage Tips While You’re On The Road

For many, a recreational vehicle is an attractive travel option for its convenience and comfort, and even as a more economic alternative to staying in a hotel, especially when travelling with family. For others, an RV also provides a full-time or temporary home.

However, space is limited when travelling in an RV. No matter the size of your RV – whether you own a pop-up camper or a luxury motorhome – you’ll want to get organized and pack efficiently to make the most of your travel time! Here are six storage tips to make the most out of your RV space and get organized before hitting the road.

1.  Baskets Are An RV Must-have

Before going basket shopping, make sure to measure all your shelf space, cubbies and any empty space in your RV. Baskets come in many sizes, shapes and materials, so knowing the space you have will make it easier to choose the best baskets for your RV.

Sort your supplies into categorized baskets. For example, you can place your dishes and bowls into one basket, your cups, mugs and straws in another and your cutlery in yet another basket. Besides keeping your place tidy, you’ll be able to bring these items to the table in one trip.

You can make the most of your space by fitting baskets in tight or underused spaces, such as the space above your cupboards. Here you can place items that you don’t need every day, such as toys, board games and other outdoor tools and supplies.

2.  Line Your Drawers and Shelves

When getting ready for your trip, we recommend you place liners on all your storage surfaces, including shelves and drawers. This will not only give your surfaces a fresh, clean look, but they will also help prevent spills and will make your life easier during clean-up.

Liners provide an extra anti-slip layer to your surfaces to avoid items sliding and falling while the vehicle is moving. If something falls or breaks, cleaning will be as easy as removing the liner carefully and replacing it with a fresh one. Liners come in many patterns and colours, so you’ll surely find the ones that fit your style!

3.  Make The Most of Your Pantry Space

Get your grocery list ready for a shopping trip before your travels. Stock up on staples such as canned goods, dry goods such as nuts and cereal, and, of course, yummy camping snacks!

To maximize your pantry space, place the taller items at the back of your pantry and smaller items in the front. Wired baskets or clear bins are great to store smaller items and bagged items to prevent them from moving around while the RV is in motion. Boxed goods like crackers and snack bars can be stored at the top of your pantry, while heavier items like cans and bottles of water should be placed at the bottom.

4.  Customize The Space to Your Needs

When travelling, you won’t have fantastic services like Wi-Fi or cable everywhere, so it’s essential to bring movies for entertainment on a rainy day – especially for the kids! However, bringing DVDs in their cases can quickly stack up and use up valuable space. Instead, you can store your DVDs in a wallet case which can be stored nicely along with some books and magazines.

Having a command centre for the family can help during your trips! You can set it up on the fridge if it’s magnetic. Otherwise, you can use Command strips on a pantry door or wall. Using a whiteboard with magnets or a cork board with thumbtacks will help you keep important information, such as phone numbers, itinerary, addresses and other notes about your trip, while adding a bit of homey décor.

5.  Maximize Your Bedroom Space with Labeled Containers

Storage bins and tubs work wonders for the space under your bed. Here, you can store your bedding, linens and blankets, cleaning and bathroom supplies, outdoor tools and gear, and even extra shoes and clothing.

Taking the extra step to label and tag your bins, tubs and baskets will be a time saver. Doing this will help you identify the contents of each storage container and quickly find what you’re looking for. This is especially helpful for clothing if you don’t have a dresser, or if you want some extra space in your closet. Labeling your containers will also make cleanup easier – you won’t have to spend hours figuring out what goes where!

6.  Use Self-storage to Organize Your New RV Home

Making the most of your new RV home space can take some time and practice, especially considering the volume and weight limitations. When you’re planning your first few trips, it might be overwhelming to sort out what you need and what you don’t, and sometimes, you’ll need to leave some of your possessions behind. Using self-storage units will ensure your items are safe, while making it easier for you to organize and decide what to take on your next trip.

At U-Lock Mini Storage, we have storage facilities across Greater Vancouver and Vancouver Island. Our facilities include self storage Victoria, self storage Parksville, self storage Nanaimo, self storage Burnaby, self storage White Rock and Surrey, and self storage Chilliwack. Contact us if you have any questions!

Whether you are planning a long-term trip, or a quick getaway, organizing your RV home and maximizing your limited space can be a challenge, but these simple tips will get you off to a good start!

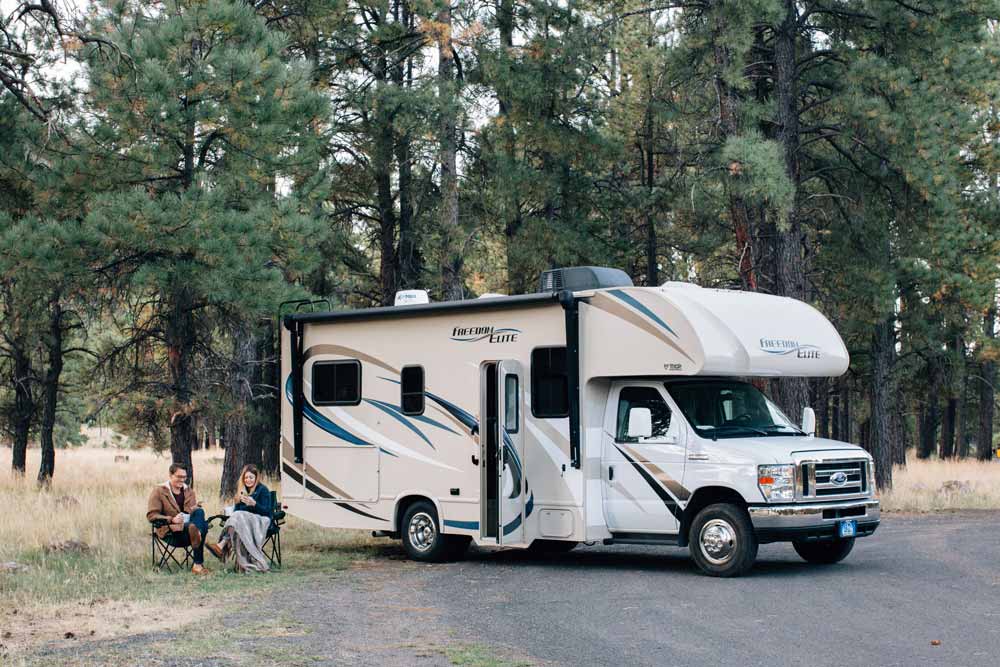
RV Storage Tips: 3 Things to Know to Winterize Your Camper

Many RV owners want to learn how to winterize a camper without spending a ton of time and money in the process. Just make sure you do not skimp out on the process. Even if you are on a strict budget, you will want to winterize the RV correctly before putting it into any long-term storage during the cold season.

Many RV owners want to learn how to winterize a camper without spending a ton of time and money in the process. Just make sure you do not skimp out on the process. Even if you are on a strict budget, you will want to winterize the RV correctly before putting it into any long-term storage during the cold season.

The main risk of leaving an RV to sit all winter long is the possibility of freezing. Plumbing systems are especially susceptible to freezing, and the resulting repair bills could cost you tons. Since there are so many RVs and so many different factors involved in winterizing campers, it is best to follow your user manual.

This RV storage guide is meant to act as a quick reference and checklist, so you know what to expect at the end of the camping season. If you are having trouble getting started, you can hire a plumber or another professional to help you complete this process. Without further ado, here are our best tips for RV storage.

Protect the Plumbing System from Freezing

Most RVs get their water in one of two ways: either through a freshwater tank or a city water hook up. The freshwater tank is usually hooked up to a water pump, which then flows through a water heater.

When winterizing an RV, you will want to make sure you get antifreeze into every water system except the water heater. By draining and then bypassing the water heater, you will save several gallons of antifreeze.

To winterize an RV, you’ll need:

  • RV antifreeze
  • Water heater bypass kit

Drain out existing water:

  • Disconnect any outside water source connected to the city water hook up.
  • Drain any holding tanks including the fresh water tank and the black and grey holding tanks.
  • Drain any water heaters and drain lines.
  • Bypass the water heater using a water heater bypass kit to prevent the heater from being filled with unnecessary antifreeze.

Add RV antifreeze:

  • Add antifreeze to the inlet side of the water pump using a plastic tube.
  • Turn on the water pump to feed the antifreeze into the system.
  • Turn on and off each set of hot and cold water faucets throughout the RV until antifreeze comes out. Start at the highest faucet point and work your way down.
  • Keep flushing the toilet until you see antifreeze.
  • Once every faucet has been checked for the presence of antifreeze.
  • Pour several cups of antifreeze down each drain.
  • Reconnect the water line to the fresh water tank.

De-pressurize the system:

  • Turn off the water pump and open a faucet again to release pressure.
  • Make sure all faucets are closed after this process

Winterize the Inside of Your Camper

There are some things you will want to remove from your RV before storage and some things you will want to clean. Do not underestimate this next sequence of steps: the majority will help prevent rodents and other pests from making your camper their home. These steps will also help prevent unwanted odors, moisture build-up and damage. The cleaner, more streamlined the RV when put into storage, the better the next season will start up.

What to winterize inside your RV:

  • Unplug any electronics or small appliances. Remove any batteries from remotes, smoke detectors and other devices and store elsewhere.
  • Cover stove burners to help prevent spiders from getting inside.
  • Remove all food and drink from the kitchen and throughout the camper.
  • Remove all linens and have them laundered and stored offsite. Storing clean linens off-site will give you one less thing you have to do next season.
  • Remove all valuables. The last thing you want is for your RV to get robbed and to lose expensive items.
  • Thoroughly clean all appliances, cooktops, countertops and inside kitchen cabinets.
  • Remove external propane tanks and store them elsewhere. Make sure to remove any propane tanks from inside the RV.
  • To help deter rodents and pests, fill any holes with steel wool, aluminum foil or a mesh screen.
  • As a precaution, leave an odor absorber like DampRid open inside of the RV during storage. These containers can be bought at most grocery stores, or you can make your own using baking soda and essential oils.
  • Winterize any ice makers, mini fridges or washing machines as per the user manual. Make sure there is no standing water left inside the ice maker.

Take Care of the Exterior Components

Regardless of where you decide to store your RV, take some time to inspect the exterior. Anything that can be fixed should be fixed before leaving an RV out in the elements. Check the roof, inspect for areas of rust, and be sure everything is sealed correctly. In addition to this general inspection, consider the following steps for winterizing the RV’s exterior.

What to do to your RV’s exterior:

  • To keep tires in good shape throughout storage, use jacks or opt to rotate the tires twice during the winter season or every couple months the RV is in storage.
  • Consider investing in some tire covers to protect them from the sun.
  • Close any roof vents, fix any leaks and make any necessary repairs.
  • Remove awnings and store in a sheltered location.
  • Shut any gas tank valves.
  • Re-caulk and seal any gaps in the door and window seals.
  • Wash and wax the exterior right before putting it into storage. If storing in the open, invest in a fabric cover to further protect the RV.
  • Fill the exhaust pipe with aluminum foil or steel wool to deter pests from making a home inside. Check for any other holes that need to be filled.
  • Avoid using any type of rodent poison. The pest might eat the poison then die inside the RV, and the odor will not be pleasant.
  • Change the oil and add a new air filter.